Can you believe July is a breath away from being over? This summer is going by so quick! We've reached the point in the summer where most of my plants are begging for mercy from the heat. I plan most of my day around where I can plant my butt in front of an A/C vent - that is, if I can get there before one of our dogs or cats has claimed all the good spots!
Today's card features Concord & 9th's Butterfly Love Stamps, and Butterfly Love Dies (also available as a bundle). This card uses a vellum panel as an overlay to soften the stamped background. This still allows the pattern to show through, but keeps the butterfly elements on top the stars of the card.
I wanted to pull in some fun blues and purples for this card, so I began by stamping the largest butterfly in Tin Pail ink onto some Whip Cream card stock. I colored it in, with Color Burst pencils, using the stamped areas as my guide.
Colored Pencils Used:
025, 027, 031, 033, 034, 042
Continuing with the same color scheme, I stamped the turnabout butterflies onto a piece of Whip Cream card stock, using Tin Pail, Pool Play, another round of Tin Pail, and Pretty Amethyst. I layered that panel onto a panel of Denim Days. I die cut my colored butterfly, along with the body from Black Licorice, and a few smaller butterflies out of the Denim card stock. I laid the butterflies out to figure out placement for my sentiment, before stamping and heat embossing the sentiment in gold, onto a vellum panel, the same size as the stamped panel.
If you've been following my blog for some time, you will know this final step. Butterflies always get a little shimmer, so I used my Nuvo Shimmer pen to add a bit of shine in the center of their wings.
Thanks for stopping by!

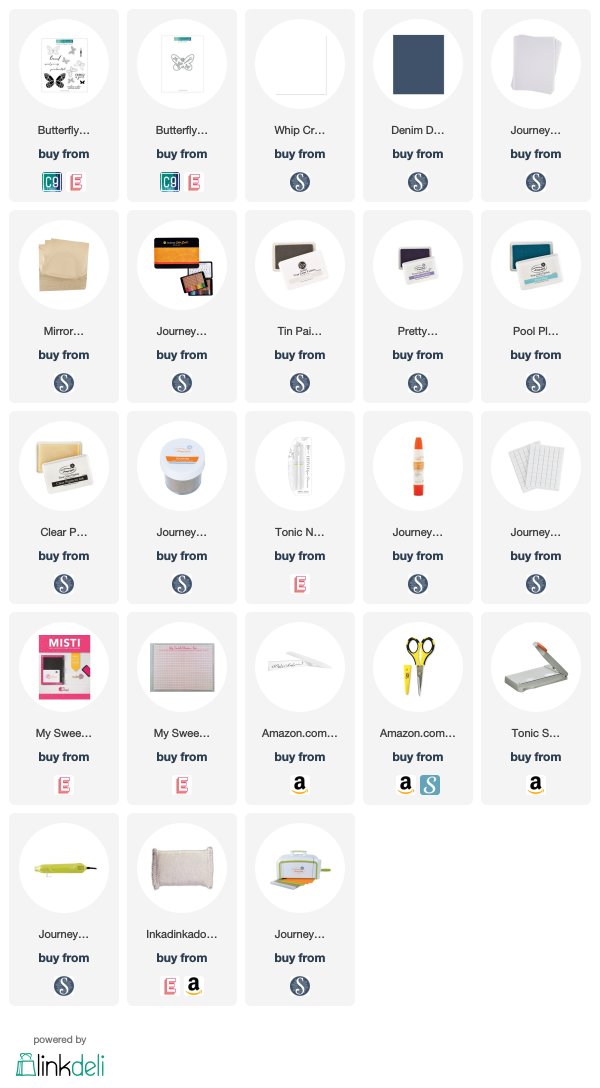
Supplies Used:
Use this easy list to find the products I used in my projects. (Contains affiliate links - where I earn a commission from purchases made from my links, at no cost to you. Your support helps me keep this blog going, and continue to create - Thank you! Affiliates and disclosures can be found here.) Please note, when possible, I try to offer multiple sources for the items I use. Products with two or more logos - underneath, or on the side, give you options of where to purchase, in case the item has sold out at one shop. To visit the first store, click on the photo of the item. To visit the second (or greater) source, click the logo for the second shop - you will still be taken directly to the product.


No comments:
Post a Comment
I love comments! If you have any feedback or questions, please feel free to leave them here!