Hello!
It's that time of the month again! Time for another Crafty Friends Blog Hop. If you have not joined us for one of our hops before, the Crafty Friends Blog Hop is a group of friends who have all shared some common crafty beginnings, and we hop each month with a spotlight on a company we love.
Pinkfresh Studio has kindly given us a 20% off coupon for our readers to use in their shop over the next couple days.
The technique I used in today's card, is certainly not new, but it's a great way to entertain kids (or even yourself!) - at least until the watercolor paper runs out! I am referring to it is Puddle Painting - watercoloring, using a puddle of water and then pressing your paper into it. The resulting backgrounds are great paired with bold sentiments, such as the Scripted Bold Sentiments stamp set from Pinkfresh Studio that I have used in my card.
To create the background, make a puddle of water on a non-porous surface (I worked on my Glass Media Mat, but if you want to contain this with kids, a cookie sheet with a rim would work as well). A puddle with more water will mix your colors a bit more on your paper. Less water will give you more distinct colors.
Begin "dropping" color into the puddle. I started with the lighter pink, and swirled my brush in the water a bit. Then add additional colors - for the darker pink, I simply plopped my brush into the water and lifted it straight out. The water will mix the color somewhat, but you will still be able to see that there are two shades that are slightly tone on tone. If you want a little less distinction between the colors, you can spray the surface of the puddle with water. This breaks a little of the surface tension, and allows the colors to move into one another without fully mixing.
Once I had the color in the water, I simply pressed my paper against it to pick up the color. After drying that layer with a heat tool, you can add more color to the puddle, and re-dip the paper to deepen the colors (my background was dipped 3 times). If you want to change colors, or work on another card front while the first dries, simply wipe up the puddle with a towel, and start again.
Once finished, allow the background to dry, then add your sentiment and embellishments. I heat embossed my sentiment in gold, along with adding gold fashion pieces. I matted the watercolor piece with white cardstock, and then added it to a top-folding white card base.
As I said, this is a simple technique that you can do over and over to create a bunch of different backgrounds. It's a great way to mass produce backgrounds for cards, or to have your kids involved in making cards.
The next stop on the hop is Lydia, over at Understand Blue.
For your convenience, here is a list of all of the stops today, just in case you get turned around.
Sara Sherlock (You are here)
Thanks for stopping by!

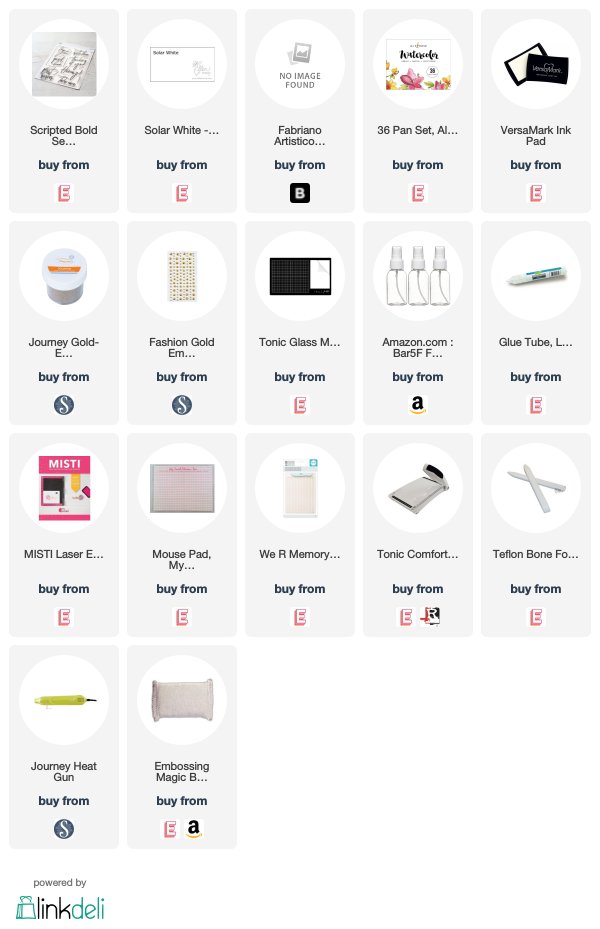
Use this easy list to find the products I used in my projects. (Contains affiliate links - where I earn a commission from purchases made from my links, at no cost to you. Your support helps me keep this blog going, and continue to create - Thank you! Affiliates and disclosures can be found here.) Please note, when possible, I try to offer multiple sources for the items I use. Products with two or more logos - underneath, or on the side, give you options of where to purchase, in case the item has sold out at one shop. To visit the first store, click on the photo of the item. To visit the second (or greater) source, click the logo for the second shop - you will still be taken directly to the product.


What a pretty card and that technique is super fun, you are right, kids would have a blast with it.
ReplyDeleteThis is SO COOL!!!!!
ReplyDelete