Hello!
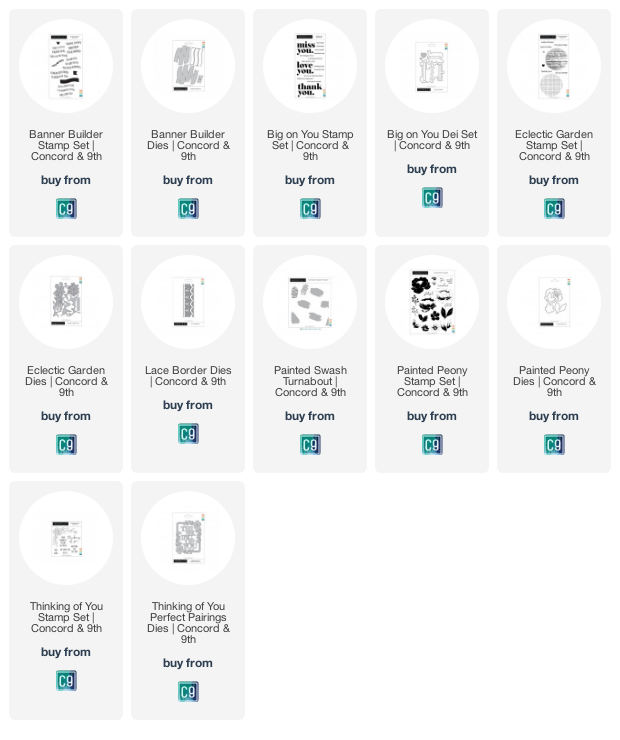
I am so excited to share today's post with you. Concord & 9th has a new release out today - and it's STUNNING! I seriously gasped when I saw all the pretty new stamps and dies. Before I share a couple of cards with you, here's a look at the new products.
If the list is not visible in your browser, you can click here to find it.
So, so, pretty - right? I do have a couple of cards to share with you using these new products.
First, is a card created with the Painted Peony Bundle. This set includes multi-step stamps to create the floral elements, and also coordinating dies. I stamped all of my images using the MISTI, in order to get everything lined up perfectly.
Because there are so many different combos on the elements, I've listed the ink colors for each of the individual elements.
as darker color for flower center)
as darker color for flower center)
Once I had all of my elements stamped, and die cut, I laid them out on a piece of Dove Card Stock to position them. I positioned the sentiment stamp, and stamped the sentiment in Mushroom Ink. Then I adhered my flower cluster using liquid glue and foam tape. The completed card front was adhered to a white card base made from heavyweight card stock.
This second card uses the Big on You Bundle, along with the Lace Border Dies. I began by die cutting the larger Lace Border die from Poppy, Marmalade, Buttercup, Parsley, Oceanside, and Eggplant Card Stocks. Then I die cut the smaller lace border from Black Card Stock. Using liquid glue, I carefully stacked the colors in rainbow order - alternating the points of the lace in the valleys of the strip above - with the black lace strip on top. I set this aside as I worked on the next elements.
I stamped and gold heat embossed the "love you." and "obviously" from the Big on You Stamp Set, on Black card stock, and then die cut them using the coordinating die. The die set includes two heart shapes as well, so I die cut the two shapes from Poppy card stock, and then die cut the smaller one again from some of the gold card stock, found in the Neutrals Foil Paper Pack. I also cut a quarter inch strip of gold card stock, using my trimmer.
I adhered the gold strip to the back of the layered lace piece I created earlier. Then I adhered the lace piece to a card from made of Black card stock. I, then, trimmed the excess off of the sides. Using foam tape, and liquid glue, I adhered the rest of the elements to the card front. Then, I attached the card front to a white card base made from heavyweight card stock.
Thanks for stopping by!

Use this easy list to find the products I used in my projects. (Contains affiliate links - where I earn a commission from purchases made from my links, at no cost to you. Your support helps me keep this blog going, and continue to create - Thank you! Affiliates and disclosures can be found here.) Please note, when possible, I try to offer multiple sources for the items I use.
If the list below is not showing in your browser, you can click here to find it.


No comments:
Post a Comment
I love comments! If you have any feedback or questions, please feel free to leave them here!