Hello!
that the stamp set coordinates with an existing die from the Nice of You by Julie Ebersole set. Which is a fun way to get more use out of your dies. Click on the graphic below to see the entire new release.
For my first card today, I stamped and gold heat embossed the All About You stamp multiple times on different candy colored card stocks. This went really quickly, and in the end, you can make a ton of cards from the additional sentiment strips you will have left over. (I also stamped and heat embossed this stamp onto black card stock at this time - this would be for use in my second card.)
I die cut the sentiments with the Nice of You die, and, while my die cutting machine was on my desk, I die cut the y, o, and u from the All About You die set, out of gold foiled card stock.
I adhered the elements on edge of a panel of Woodgrain Embossed card stock. I wove the first strip through the tail of the "Y" before adhering. As I was adhering the strips, I lined up the last character on each strip, so that the sentiments ended in the same place. I trimmed any extra off of the edge, before adding a small strip of gold foiled card stock to that right edge of the card.
For the second card I'm sharing today, I stamped and white heat embossed the Nice of You Stamp, multiple times on various colored card stock. I then die cut the strips with the Nice of You die.
On an A2 sized panel of white card stock, I adhered the rainbow colored strips in lines. Once I had filled the panel, I trimmed the edges to a card front size.
I die cut another set of y. o, and u die cuts from the gold foil card stock, as well as cutting the solid backing from black card stock. I cut a panel of vellum to 3" x 4.25", and then adhered the die cuts together on the panel, along with adding one of the sentiment strips I stamped and embossed while working on my first card.
I adhered a few clear gems around my main sentiment, and then used the die cuts and gems to hide the adhesive I used to adhere the vellum to the card front. The finished card front was attached to a card base made of heavyweight card stock.

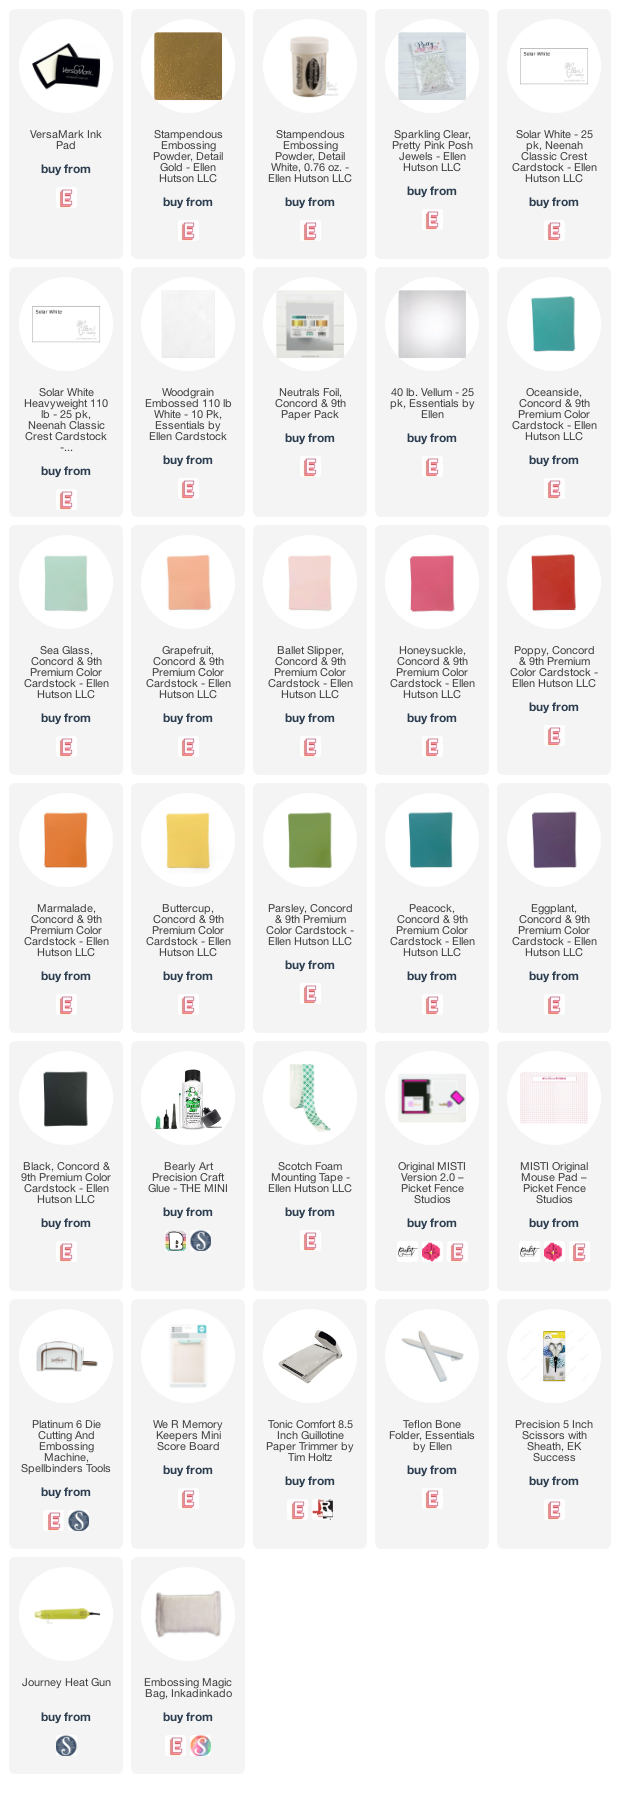
Use this easy list to find the products I used in my projects. (Contains affiliate links - where I earn a commission from purchases made from my links, at no cost to you. Your support helps me keep this blog going, and continue to create - Thank you! Affiliates and disclosures can be found here.) Please note, when possible, I try to offer multiple sources for the items I use.
If the supply list below is not visible in your browser, please click here to view it.


Oh. My. Word!!! I love the pastel card SO MUCH!!! I generally work with pastels and enjoy leaving lots of white space, so I really appreciate your use of just a little subtle texture on the top layer of white. This is an outstanding card!
ReplyDelete